You've already run your telecom network's cross-connect cabling…now how will you terminate it into Keystone jacks? With our easy-to-follow wiring guide, you'll have your Cat5, Cat5e and Cat6 jacks wired, installed and ready to go in no time!
PROJECT CHECKLIST
|
|---|
| Experience Level: Advanced |
| Time Required: 5-10 Minutes per jack |
| Steps: 10 |
| Supplies: 2 Keystone jacks per cable, cable stripping tool, faceplate(s), Punch down tool |
STEP 1

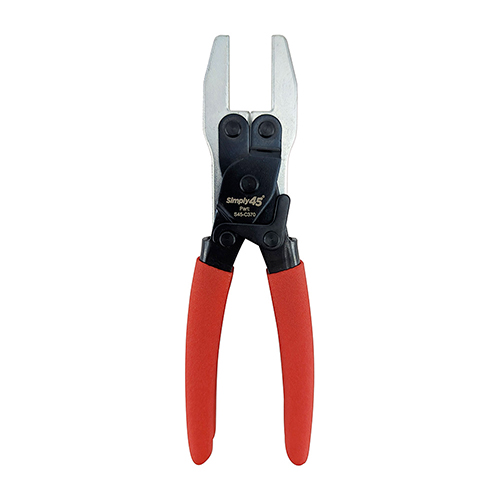
Strip approximately 1.5 inches of jacket from the twisted-pair cable. There are a range of wire strippers available on CableOrganizer® for every budget. Simply45® Wire Stripper is one. The Stripmaster® from IDEAL® is another. If you’re shopping for Ethernet cables, you can also find bulk CAT5e and CAT6 network cables at CableOrganizer®.
STEP 2

Separate the twisted wire pairs from each other; then untwist each pair. Straighten wire ends out as much as possible.

STEP 4

Once the cap has been removed, you'll notice that there are wire configurations printed near the termination slots. If you are given a choice between “A” and “B” configurations, choose whichever one you'd like, just be sure to remember which one you're using when it comes time to terminate the cable's other end with a jack! Configurations must be the same at both ends of the network cabling.
STEP 5

Place all 8 wires into the center of the jack; from there, divert the wires into their correct slots, pressing them as far down into the termination slots as they will go. Excess wire length will be extending out of the sides of the jack.
STEP 6

It's easiest to punch down wires if you do one side of the jack at a time. Make sure that the punch down tool's “Cut” side is aligned with the outer edge of the jack, and that the jack assembly is resting on a hard, sturdy surface that is able to withstand force. One of the many punchdown tool brands available at CableOrganizer® is the Punchmaster II™ from IDEAL®.
To punch down each wire, press down on the punchdown tool until you hear a loud click and simultaneous, metallic-sounding “ping.” These noises are indicators that the punch down has been done correctly; if you don't hear them, you'll know that the punch down hasn't been successful.
STEP 7

Check the quality of the punches. Inspect each termination slot along the outer edge of the jack; each wire should be firmly anchored at the bottom of its slot, and the wires' copper conductors will be visible.

STEP 9

Firmly insert the jack assembly into the faceplate from the back; be sure that the jack's clip is facing up, so that it properly snaps into the faceplate port.

Shop at CableOrganizer® for Keystone Jacks and all your other networking needs.