Skip to content
How to Safely Install and Use Polyurethane Cable Covers
By: CableOrganizer®
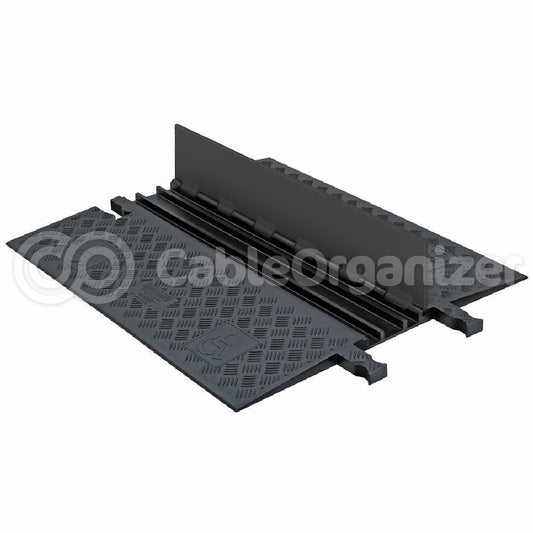
Whether your application is for a special event, automotive garage, factory or warehouse, heavy-duty polyurethane cable covers are the perfect solution for keeping the cables and hoses in high-traffic industrial environments safe. These also greatly reduce tripping hazards for pedestrians. There's just one thing to remember: to reap their safety benefits, your polyurethane protectors need to be properly installed and utilized.
PROJECT CHECKLIST
Experience Level: Intermediate
Time Required: Depending on the size and complexity of the installation, this project can take anywhere from 15 minutes to several hours to complete.
Steps: 4
Supplies: Polyurethane cable covers and corresponding end boots; drill (optional); tape for securing cover lids; warning signs
STEP 1 — CONFIGURE AND ASSEMBLE
- Position cable covers hinge side first so that whenever possible, traffic will drive over them.
- When running parallel cord covers, make sure they are at least two feet apart.
- Provide an ADA-compliant path of travel wherever necessary and safe, adhering to ADA guidelines for the use of wheelchair ramps.
- Avoid irregular surfaces if you can, as water and other fluids can collect and create a shock or slipping hazard.
- During configuration and set up of your cord covers, constantly ask yourself, “Have I created a tripping hazard?” If the answer to that question is “yes,” re-evaluate your project — or call us with your questions at 1-833-3CABLEORG (1-833-322-2536).
- When assembling linear pieces, do so by placing female slots over male tabs.
- Use end boots to complete the run and reduce tripping hazards presented by bare connector ends.
- Use signs to warn people of the “bump” or upcoming obstacle — and use bright colors whenever possible. Don't try to hide the cord protectors!
STEP 2 — SECURE
- Secure lengths of cable protector on unusually slippery surfaces by attaching to the ground.
- If you're going to anchor the cable cover down, reduce your risk of tearing the protectors by drilling anchor holes, rather than just spiking.
STEP 3 — FILL
- Start by placing cables in the channel that's closest to the leading edge. Be sure to always load the most sensitive cables and hoses nearest to the hinge-side of the protector.
- Avoid mixing cables and hoses with different functions within a specific channel; use separate channels for power, signal (data), fluids, and gases.
- Don't overstuff the cable cover! Doing so can cause the lid to pinch cable insulation or present a tripping hazard.
- Use grip tape to keep the lids securely down.
STEP 4 — MAINTAIN
- Replace worn parts immediately, as torn lids can present a tripping hazard.
- Avoid using solvents or acids to clean cable protectors; instead, use ordinary soap and water or steam-clean the product.
CableOrganizer® is not responsible for the misuse of any of the products that we sell and cannot guarantee performance — because we are unable to control and ensure their proper use.
If you ever have a question about any of our products, or item(s) you have purchased from us, please do not hesitate to call us toll free at 1-833-3CABLEORG (1-833-322-2536).