How to Create a Great Home Theater System
By: CableOrganizer®
There are no hard-and-fast rules for what turns a room with a TV into a full-fledged home theater. At the very least, it's a bigger, better picture with richer, fuller sound. In our day and age, families who want a more engaging cinema experience — minus the overpriced popcorn — are upgrading as well, thanks to affordable options for nearly every budget. Here are some great tips from CableOrganizer® that will help you build — and maintain — a terrific home theater system.
PROJECT CHECKLIST
Experience Level: Intermediate
Steps: 7
Supplies:
Power cords and surge protectors, audio/video cable, audio/video connectors, a flashlight, raceway, braided sleeving, cable ties, tools.
Factor into the project costs the home theater components (TV, DVD player, stereo speakers, gaming system, entertainment center, and similar items).
STEP 1: POWER

Get into the habit of powering down components before making connections. Sudden loads on live amplifiers connected to speakers are especially damaging. You should power down the components involved in the connection first, when connecting audio and video cables. Power cords and surge protectors can be employed in the installation of your home theater system and other electrical appliances to reduce the risk of electric shock.
STEP 2: CABLES

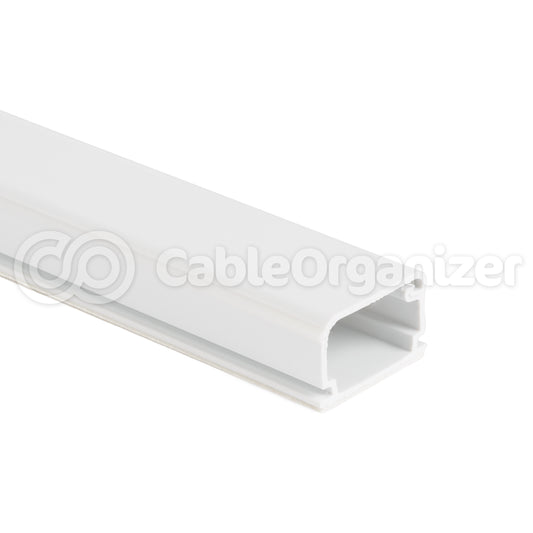
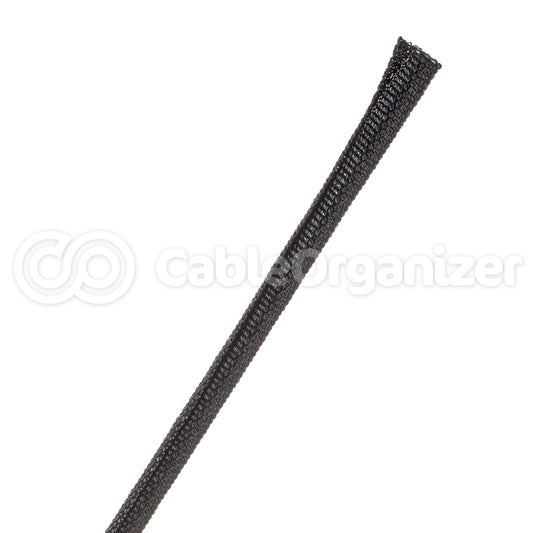
When hooking up your system it’s important to use interconnects that have ends you can grip securely. Some of the connections might be tight and often you’ll need to pull them out or reconnect them from obstructed vantage points and in poor lighting. It’s important your fingertips can grab the plugs on the end of your interconnects, so you’re not pulling on the cable. It may be easily damaged in some cases. One must also ensure the cables leading out of the home theater appliance are properly organized. Cable management is important because home theater cables may create an undesirable mess behind your display unit. One such problem may be avoided through with use of braided sleeving, a home theater wire management kit, raceways, wire ducts, cable ties, and other wire organization products.
STEP 3: SPACE
You’re going to need room behind your equipment to put it all together. If everything is going in front of a wall, give yourself some space to see behind the gear. Plan beforehand to see how your components are to be stacked and then ensure the wires you have will reach before you begin. There is nothing worse than having to disconnect everything from your receiver to move it because one component’s wiring can’t reach.
STEP 4: STACKING

Avoid enclosed cabinets if possible. Open shelves give a modern and clean appearance. They are a popular way to display your equipment, giving you easy access, and allowing your equipment to breathe. Choose from a generous selection of home theater racks, shelves, carts, mounts, and stands from CableOrganizer®. If you must stack components, be sure not to obstruct any vents. Damage from overheating constitutes abuse and could void a warranty. Check components for heat from time to time after you’ve set everything up and begin watching your first movie. If components seem to run hot, consider putting in a fan to circulate the air. Common sense can go a long way in component placement; consider the weight of any component before putting it on top of another. For example, a DVD player probably shouldn’t be used to support the weight of a 7-channel power amp.
STEP 5: LIGHTING

Since your home theater area might not have a lot of lighting, be sure to have a portable flashlight handy so you can read labeled connections easily. Reaching behind components and making connections you can only feel can lead to incorrect configuration. This practice may cause damage to components.
STEP 6: SPEAKER WIRE

Longer runs of wire require thicker gauge wire. This is the basic minimum outline:
- 16 gauge for less than 100 feet.
- 14 gauge from 100 to 200 feet
- 12 gauge for greater than 200 feet.
STEP 7: CABLING THEORY
Remember, the basic theory behind wiring your system is simple. You’re going to connect components together for a logical flow of signals. Left always connects to left, right always to right, positive always to positive, and negative to negative. Inputs are always connected to an output.
Need products to manage your audio and video systems? Shop here at CableOrganizer® for cable cover protection, wires and cables, cable management items, cable labelers, network products, electrical supplies, and tools to build your home theater system.