Setting up Fiber Optics Technology
By: CableOrganizer®

It is widely assumed fiber optics is a newer phenomenon that has revolutionized the communication infrastructure. However, experiments began in the late 1800s when researchers worked on transmitting light through transparent materials, including glass and water. Telephone inventor Alexander Bell’s photophone in 1880 mimicked what today’s fiber optics accomplishes, transmitting illuminated electrical signals over glass fibers. The photophone harnessed modulated sunlight into a mirror to create the sound, paving the way for fiber optics.
Narinder Singh Kapany, nicknamed the “Father of Fiber Optics,” worked with British physicist Harold Hopkins in 1953 on transmitting images with optical fibers. The year prior, Kapany published a paper about transmitting light over short distances using bundled glass fibers. It was Corning Glass Works that has become known for making the first high purity glass fibers able to maintain signal strength over lengthy distances. Early major fiber optic projects took place in the 1970s, with fiber links used for the Cheyenne Mountain NORAD (North American Aerospace Defense Command) center in Colorado. Chicago witnessed the first installation from AT&T of a fiber optic telecommunications link in 1977. Since then, fiber optics continues to grow because of its large bandwidth and distance advantages over conventional copper wire.
As fiber optic communications increase, the need to have a highly reliable system becomes more evident. By paying more attention to the design, installation and operation of a fiber optic system, it is possible to take advantage of the security, bandwidth and distance that fiber optics offers.
What are some guidelines you can use to ensure proper installation and usage of your fiber optic system?
The first step is to determine the distance or the range of the link that you are working with — longer links require singlemode fibers or lasers, while shorter links take multimode fibers or LED Sources.
Then consider the environment you are working in. Is your installation outdoors or above the ceiling? Is it in an office or on a factory floor? These factors will help to determine how your fiber will be mounted. If you have a ceiling application, you may want to source fiberglass push and pull rods to help you with those hard to reach places.
Now it is important to plan splicing requirements. Long lengths of cables may need to be spliced, with the right tools important in helping to do a great job. If you’re cutting into tight-buffered cable, your best option is to use Kevlar® shears because they cut the cable clean and neat, which can save polishing time. Another good investment would be cable strippers and lint free wipes to clean any debris left from the glass fibers. You also want to consider the type of hardware that may come in handy. If splice closures are appropriate, these will have to be sourced beforehand.
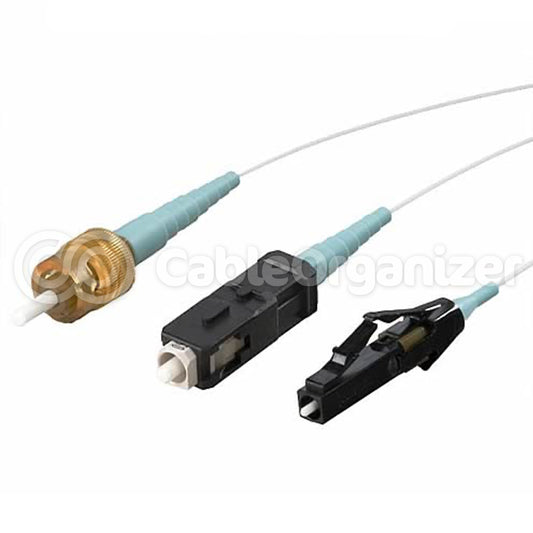
Once your fibers have been sheared, polished, cleaned and tested, it becomes important to choose a termination type appropriate for your application. Remember to clean all your connectors properly and to label all your cables to identify your fiber optic cable. Some kits on the market may carry everything you need, which will save you a bit of time in sourcing different tools necessary for your application. Once you have documented your entire fiber optic network, you should be good to go. Remember, documentation is foresight; it will help when it comes time to troubleshoot, upgrade or restore your network.